A rustic wooden board adorned with an array of savory meats, creamy cheeses, vibrant fruits, and crunchy nuts is the best start to a holiday celebration, or just for a night of wines and snacks with friends. Crafting a charcuterie board can feel a little daunting if you haven’t made one before, but we promise, it’s easier that you might think. In this guide, we'll walk through the steps of creating a charcuterie board that excited your guests and delights the senses.

Step 1: Selecting Your Tray
The foundation of any great charcuterie board is the serving platter. Choose a wooden board, slate, marble slab, or any other flat surface that provides ample space for arranging your ingredients, and also looks beautiful (it is your base after all). Opt for a size that accommodates your guest count while leaving enough room for each component to shine.
Step 2: Curating the Cheese Selection
Cheese is the heart and soul of a charcuterie board, offering a spectrum of flavors and textures to tantalize the palate. Aim for a diverse selection, including soft, semi-soft, semi-hard, and hard cheeses. Consider classics like creamy brie, tangy blue cheese, and sharp cheddar. Our personal favorites are the Toma and Pesto Jack Cheese from Vella Cheese Company, in Sonoma. Let the cheeses come to room temperature before serving to enhance their flavors and textures.
Step 3: Choosing the Finest Cured Meats
No charcuterie board is complete without an assortment of cured meats, each offering its own distinct profile. Delight your guests with thinly sliced prosciutto, spicy chorizo, savory salami, or smoky coppa (we love the coppa and prosciutto from the Fatted Calf, in Napa and San Francisco). Arrange the meats in elegant folds or rolls to create visual interest on your board.
Step 4: Adding Texture and Crunch
Complement the rich flavors of your cheeses and meats with an array of crunchy accompaniments. Select a variety of crackers, breadsticks, and sliced baguette to provide a satisfying crunch and small bite. Enhance the textural experience with roasted nuts such as almonds, walnuts, or pistachios, adding a delightful contrast to the creamy cheeses and tender meats.

Step 5: Infusing Freshness with Fruits and Vegetables
Incorporate bursts of freshness and color with an assortment of fresh fruits and vegetables, especially if you are vegetarian (just exclude the meats, and add more veggies!) Choose seasonal offerings like juicy grapes, ripe figs, crisp apple slices, or succulent berries. Add vibrancy to your board with slices of cucumber, cherry tomatoes, or roasted bell peppers. These refreshing elements provide balance and brightness to the richness of the cheeses and meats.
Step 6: Elevating with Savory Additions
Elevate your charcuterie board with savory additions that add depth and complexity to the flavor profile. Include briny olives, pepperoncini, or marinated artichokes for a burst of flavor. Enhance the experience with savory spreads like honey, fig jam, whole grain mustard, or olive tapenade, inviting guests to experiment with unique flavor combinations.
Step 7: Arranging with you Creativity
Assemble your charcuterie board with care and attention to detail, creating an inviting that highlight the different elements. Start by placing larger items such as cheeses and bowls of dips in strategic locations across the board. Arrange meats in elegant folds or cascading layers, interspersed with crunchy crackers and breadsticks. Fill in the gaps with fresh fruits, vegetables, and nuts, ensuring a harmonious balance of colors and textures. If your board is not large enough, don’t worry! You can always place the breads or crackers on the side in a nice bowl with a towel under for added decoration. My main recommendation would be to add two bowls on, place the meats (or veggies) and then layer the cheese around the bowls and meats, and don’t forget to fill the areas under the bowls too so the board looks full!
Step 8: Adding the Final Flourishes
Put the finishing touches on your charcuterie board with thoughtful garnishes and decorative elements. Sprinkle fresh herbs like rosemary or thyme over the cheeses for a pop of color and fragrance. Add edible flowers or decorative accents to enhance the visual appeal of your presentation. Consider including labels or signage to identify different cheeses and meats, but this is not a requirement.

Step 9: Picking the Wine
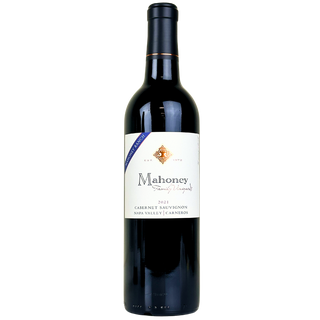
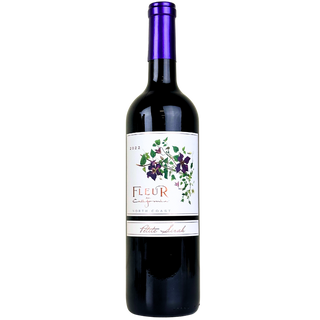
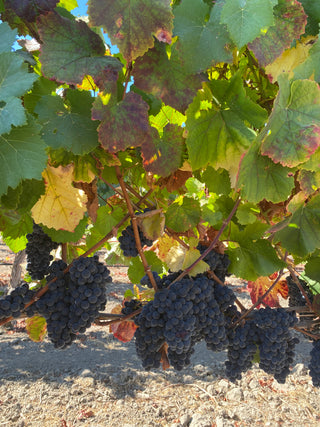
One of the benefits of a charcuterie board, is that you can pick a variety of wines with it, due to the array of meats and cheeses. Pairing white wines with a charcuterie board offers a refreshing contrast to the savory and rich flavors of the meats and cheeses, and Vermentino would be our favorite as it loves camembert and good creamy jack cheese. Sparkling Pinot Blanc is also a great choice, as the creamy flavors would pair well with brie and cheddar, and the bubbles create a great palate cleanser. Red wines, like Pinot Noir, go well with the salami and spicy coppa, and Cabernet Sauvignon stands up well with the strong flavors of blue cheese and aged cheddar.
Once your charcuterie board is assembled, invite your guests to gather around and enjoy the different flavors. Crafting a charcuterie board is a labor of love, and with careful attention to detail and a creative spirit, you can create a stunning presentation. So gather your ingredients, unleash your creativity, and embark on a journey of gastronomic indulgence with a charcuterie board that's sure to impress.


